# การสร้างกลุ่ม เพื่อส่งเอกสาร
### ประโยชน์
- สามารถจัดกลุ่มผู้ส่งแยกไว้ตาม หรือตามกลุ่มงาน
- ช่วยประหยัดเวลาในการการเลือกผู้ส่ง
### วิธีการสร้างกลุ่ม
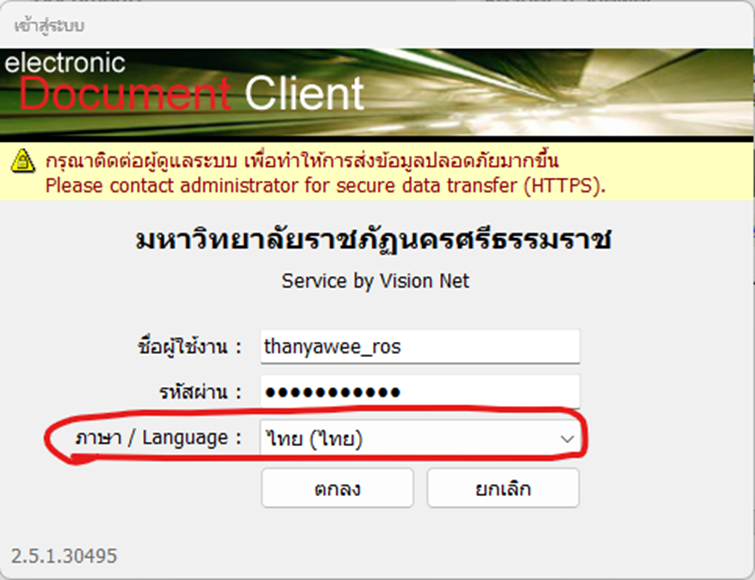
1\. เข้าสู่ระบบในโหมดของ window application
2\. กดลงชื่อเข้าใช้งาน ดังรูป (ข้อสังเกตให้ท่านเลือกภาษาไทย เพื่อง่ายในการใช้งานเมนูต่างๆ)
[](https://arit-manual.nstru.ac.th/uploads/images/gallery/2023-10/IIHimage.png)
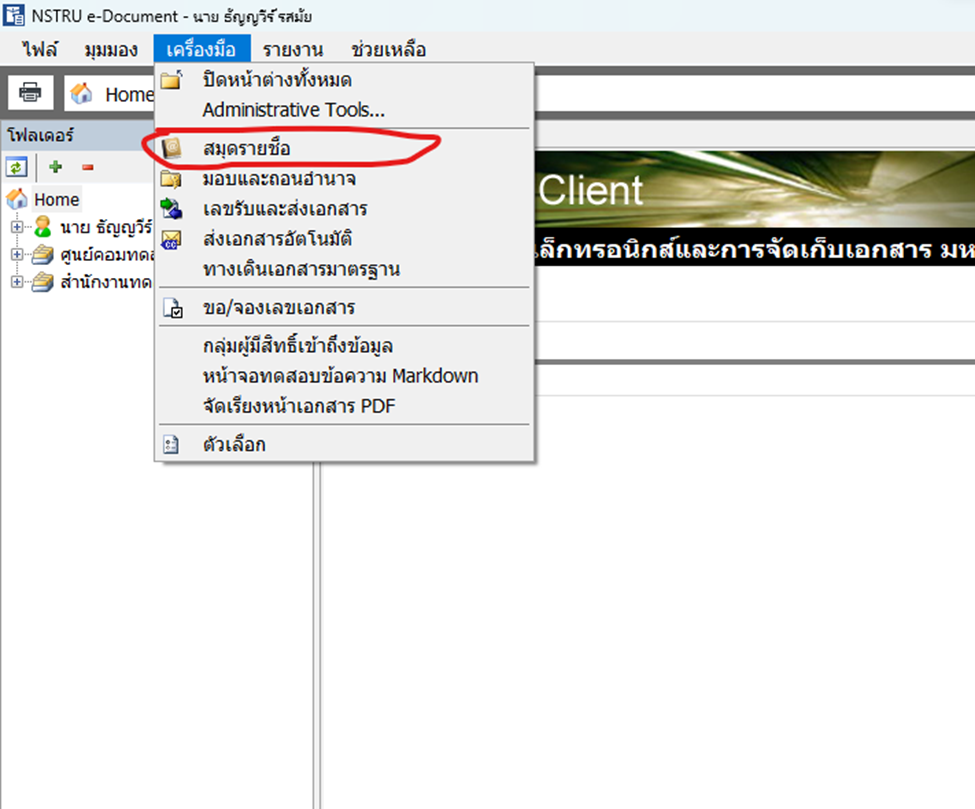
3\. ไปที่เมนู ->เครื่องมือ->สมุดรายชื่อ ดังรูป
[](https://arit-manual.nstru.ac.th/uploads/images/gallery/2023-10/vNUimage.png)
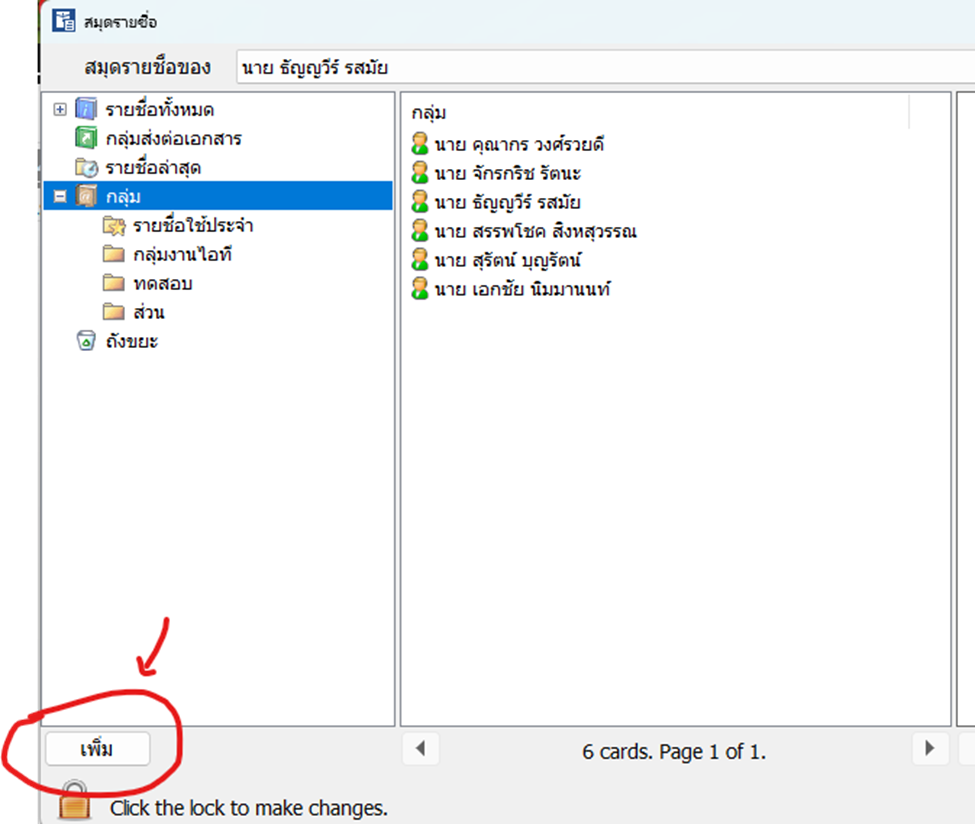
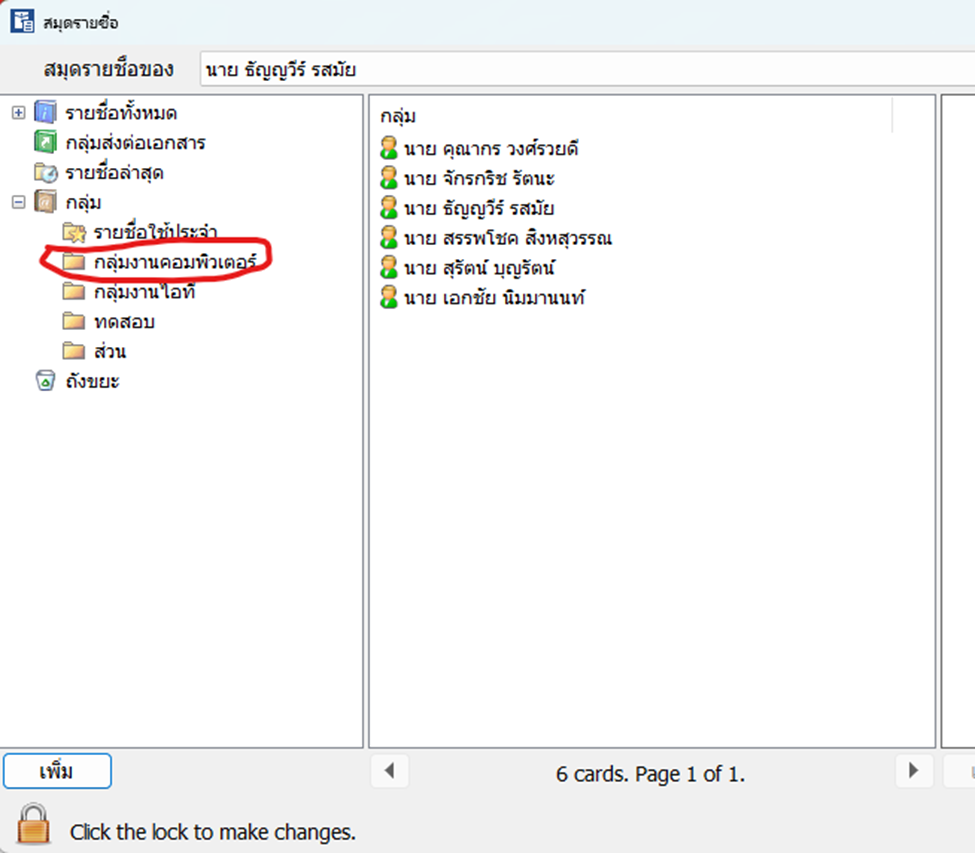
4\. ตรงสมุดรายชื่อ จะมีเมนูกลุ่ม ซึ่งจะสามารถสร้างกลุ่มตรงนี้ได้
[](https://arit-manual.nstru.ac.th/uploads/images/gallery/2023-10/SmGimage.png)
5\. การสร้างกลุ่ม ตัวอย่างจะสร้างกลุ่มชื่อ “กลุ่มงานคอมพิวเตอร์” โดยกดที่ปุ่มเพิ่มตรงซ้ายล่างดังรูป
[](https://arit-manual.nstru.ac.th/uploads/images/gallery/2023-10/NnJimage.png)
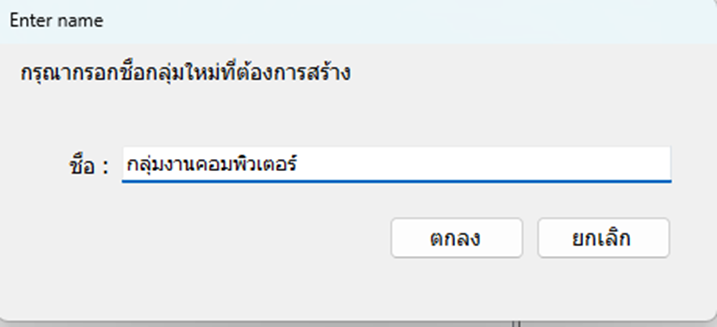
6\. ใส่ชื่อกลุ่มเสร็จแล้วกด ตกลง เสร็จแล้วจะปรากฏชื่อกลุ่ม “กลุ่มงานคอมพิวเตอร์”ตามรูป ด้านซ้ายมือดังรูป”
[](https://arit-manual.nstru.ac.th/uploads/images/gallery/2023-10/MStimage.png)
7\. จากนั้นให้กลับไปที่ปุ่ม รายชื่อทั้งหมด แล้วเลือกรายชื่อผู้ที่จะให้เข้ามาอยู่ในกลุ่ม เลือกได้แล้วให้คลิกรายชื่อนั้นๆ ค้างไว้แล้วลากมาวางตรงกล่องกลุ่มที่สร้างขึ้น ในที่นี่คือกลุ่ม“กลุ่มงานคอมพิวเตอร์”
8\. เสร็จแล้วกดปุ่มตกลง
[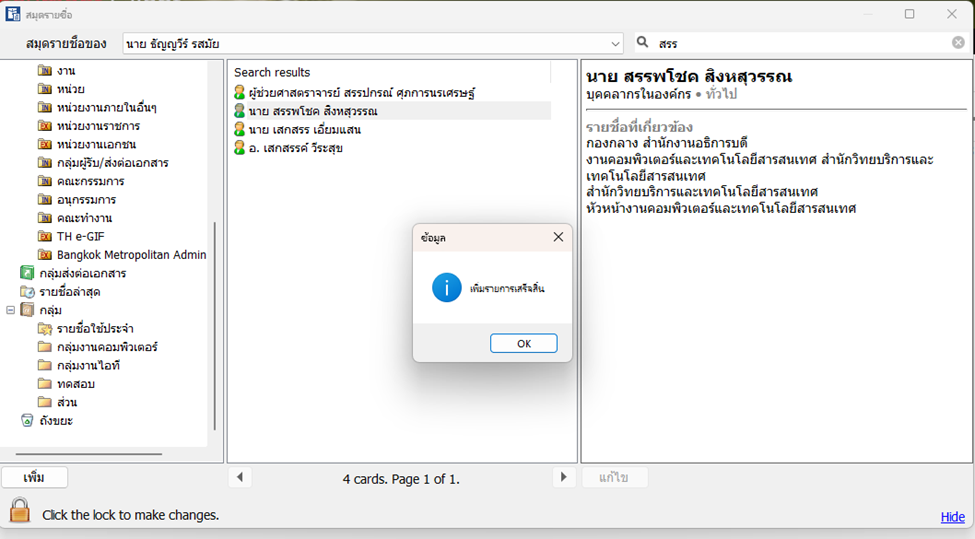](https://arit-manual.nstru.ac.th/uploads/images/gallery/2023-10/aQ8image.png)
9. ได้ผลดังรูป
[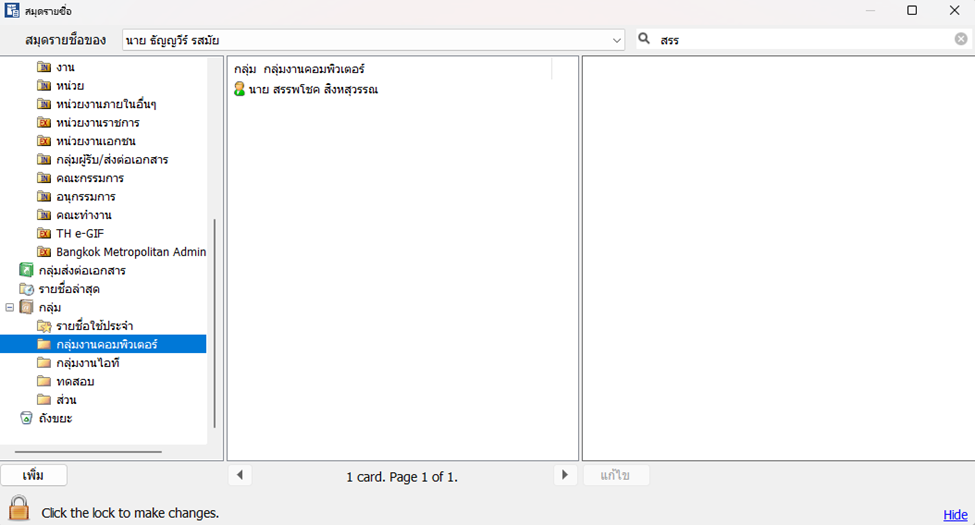](https://arit-manual.nstru.ac.th/uploads/images/gallery/2023-10/g9iimage.png)
10\. ท่านสามารถเลือกชื่อผุ้ใช้งานท่านอื่นเข้ามาในกลุ่มได้โดยใช้วิธีการเดียวกันนี้
[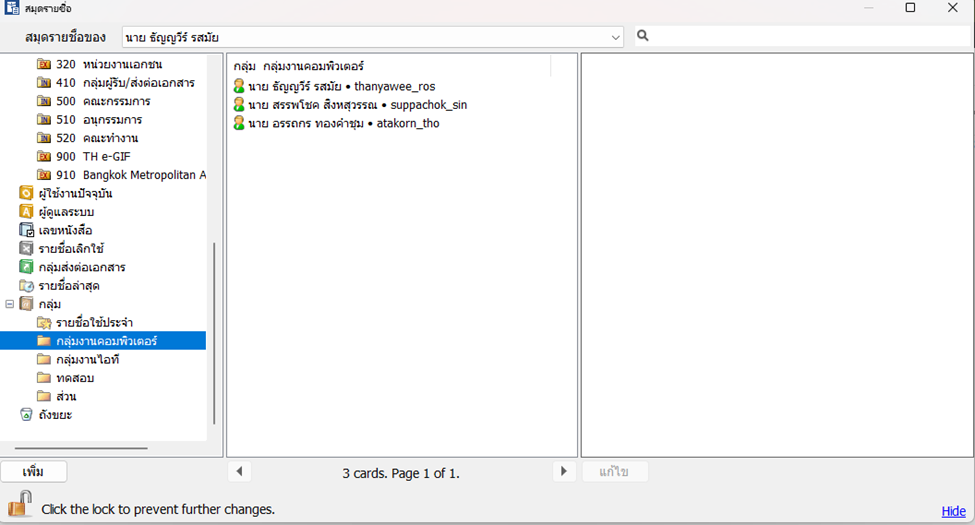](https://arit-manual.nstru.ac.th/uploads/images/gallery/2023-10/nBbimage.png)
11\. การนำไปใช้งาน ตัวอย่างทำการรับเอกสารแล้วส่งออกไปยังกลุ่มที่เลือก
[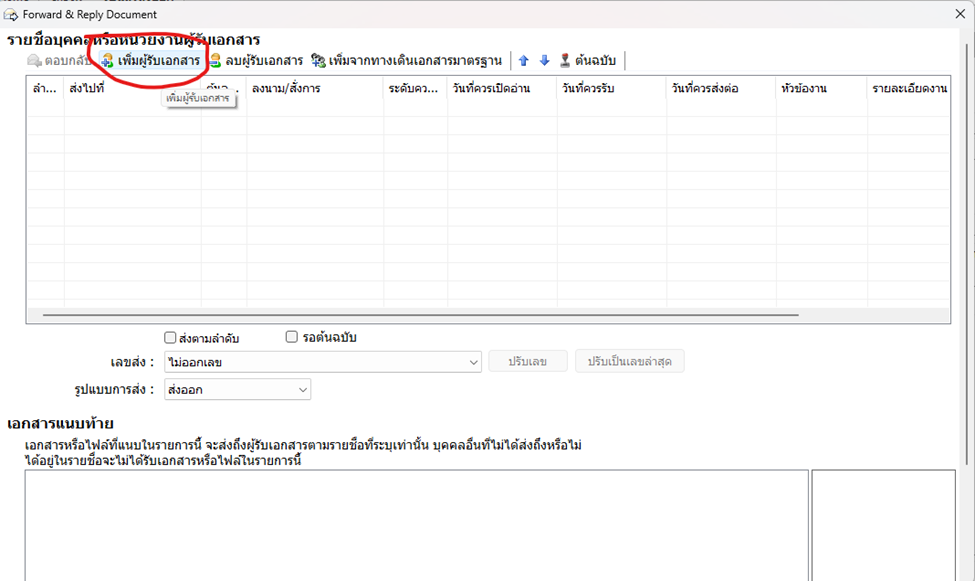](https://arit-manual.nstru.ac.th/uploads/images/gallery/2023-10/deCimage.png)
12\. จากนั้นให้เลือกกลุ่มที่ต้องการส่งถึง แล้วกด ตกลง
[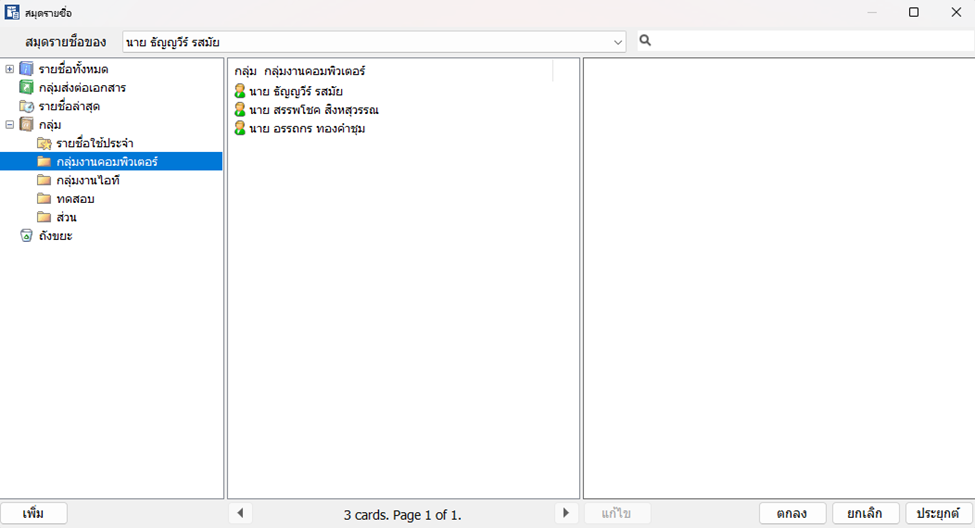](https://arit-manual.nstru.ac.th/uploads/images/gallery/2023-10/DZfimage.png)
13\. ผลลัพธ์เอกสารที่สร้างขึ้นจะถูกนำส่งไปยังผู้รับทั้งหมดตามที่ระบุอยู่ในกลุ่ม
[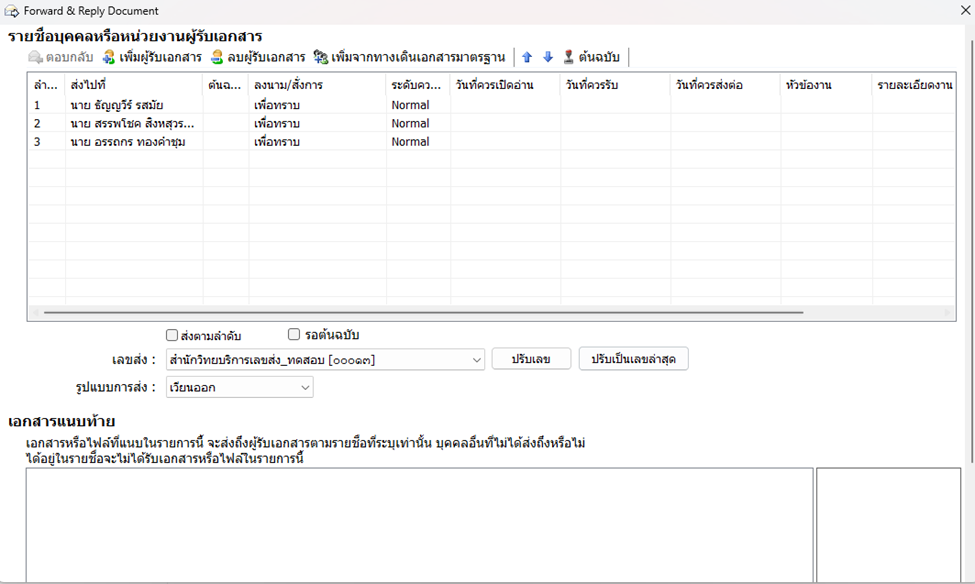](https://arit-manual.nstru.ac.th/uploads/images/gallery/2023-10/JXoimage.png)
14\. หลังจากนั้นท่านสามารถดำเนินการต่อไปได้เล